News

11th Annual St. Louis C-Level Technology Leadership Summit
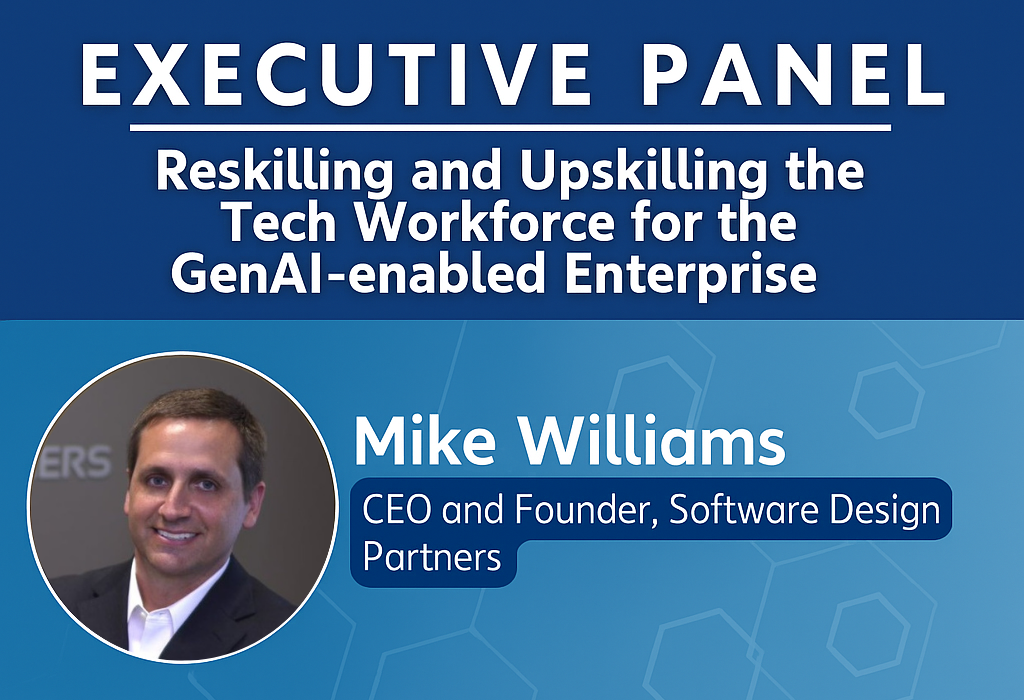
Reskilling and Upskilling the Tech Workforce for the GenAI-enabled Enterprise
Read More

Continuous Integration/Continuous Delivery, often abbreviated CI/CD, has become a hot button topic in the last few years alongside the rise of "DevOps" methodologies and practices. But what exactly are these things and why should you care? When we are dealing with technology, there are almost always 2 angles to answer that question: through the eyes of the IT staff and through the eyes of the business stakeholders. This post will aim to look more through the profession of IT, covering the why and how from that perspective, and we will follow up on the business side in a later post.
Continuous Integration and Continuous Delivery, while often mentioned together and implemented together, are 2 separate practices. Azure DevOps facilitates both of these practices with what they simply call "Pipelines". Pipelines are broken up into what they actually call just "Pipelines", as well as "Releases". Each of these tools uses the YAML (YAML Ain't Markup Language) language to script out tasks, and each one is referred to as a "pipeline" of sorts. It can get confusing and leave you wondering what's the difference? I read someone on Reddit, who perfectly said that Pipelines don't output anything and are only meant to ensure builds and unit tests run, whereas Releases DO emit output, often deploying or emitting deployment packages in the process. So, that's a helpful way to keep them straight on what each should be doing. It's also helpful to remember, that most often, your Release Pipeline is going to consume the output of your Continuous Integration "Pipeline".
Setting up your initial Pipeline for a simple .NET project is fairly straight forward. However, I would imagine some builds could get complex if you require a lot of abnormal steps or generate a lot of artifacts. When you go to create your first pipeline, you'll be presented with the screen below. We'll click that "Create Pipeline" button to get started!

Once we click that button, we'll be asked first where our source code is stored. For demo purposes, we're just using Git via Azure Repos, but I've used Atlassian BitBucket as well, and Microsoft has made it dead simple to integrate this and several other third party source control providers.

Next, we will be presented with a screen to select our repository from our chosen provider. Note that here it was smart enough to filter down to the "PipelinesDemo" DevOps project repos.

After that, we need to select our project type. We'll be doing a simple ASP.NET Core application for our demo.

Finally, we're given a YAML template based on our selected project type. This is the template for .NET Core:

Let's go down the list and see what the template is doing for us.
This represents a fairly normal, Continuous Integration build, albeit simple and easy. Most builds will probably at the very least have NPM installs to run, Angular CLI commands or file copy post-build events. When you're working with more complicated aspects of a build, it's so important to remember that this will be run on a CLEAN virtual machine on every pass! You can replicate a local build environment by just setting up a clean directory, re-cloning your repository into it and attempting to build there. If you're running on the free version of DevOps, you'll be constrained by build minutes, so it's important to get things as solid as possible in your local environment before attempting to debug builds in the Azure DevOps cloud.
Once we save and run our build, you can watch the build's progress in the built-in log viewer!

This log is invaluable in debugging issues and resolving them. More than likely, someone has run into your problem and will have posted a solution to it.
Once you do have working builds, your team will now be emailed every time a build completes, indicating whether it's successful or not, and what errors occurred if it failed! So now, if Bob checks in some code and breaks the build, Jim and Bill now know to immediately inform Bob and allow for correction! No more sifting through 20 check ins to see which check in broke the build! You will now be able to match up exactly which check in broke the build and when! This can cut down troubleshooting time by hours, if not days, each time a build breaks! While initial setup can sometimes be a challenge, if you get your builds going early, it should be a straight forward ongoing task as your application size increases and the build gets more complicated. If your boss is torn on paying for DevOps, the troubleshooting time saved alone should be an easy sell for you to get him or her on board! Additionally, all team members AND project stakeholders can always go to the Pipelines web page and check out build statuses!

This post has gotten a little long winded, so we'll follow up with Release Pipelines in our next post! We'll show how to connect the output of this build to the Release Pipeline, set up Deployments to Azure, and set up Management approvals for each Production release! Stay tuned!
Software Design Partners creates a competitive edge for your business.

Steve Danner is the Director of Technology at Software Design Partners. He specializes in software development implementations, but also manages the company network infrastructure, provides technology and application architecture direction for the development team, engages clients to provide technology solutions for their business challenges.